
How to Build a Dry Creek Bed That Actually Handles Runoff
Most dry creek beds are decoration that fails in the first real storm. Here's how to build a dry creek bed that actually moves runoff — routing, digging, fabric, rock sizes, and the mistakes that cause washouts.
Search for how to build a dry creek bed and you'll find a thousand photos of pretty rock ribbons that would wash out in the first real thunderstorm. A dry creek bed is supposed to be functional drainage that happens to look good — a channel that catches roof and slope runoff, slows it down, and moves it somewhere harmless. Built right, it's one of the best features in xeriscaping: zero water, zero maintenance, and it solves a problem grass never could. Here's how to build one that works.
First, figure out where the water actually goes
Wait for a hard rain (or run a hose for 20 minutes) and watch. Where does water enter the yard — downspouts, a neighbor's slope, a driveway? Where does it pool? Where could it safely exit — a street gutter, a planted basin, a low corner away from structures?
Your creek bed connects the entry point to the exit point along the path water already wants to take. Fighting the existing flow is how you build an expensive decoration.
Two non-negotiables: the channel must slope continuously downhill (even 2% works, about ¼ inch per foot), and it must discharge away from foundations — yours and your neighbor's. Check local rules before directing water off your property.
Size the channel
For typical residential runoff, dig a channel roughly 2–4 feet wide and 8–18 inches deep. More roof area or a bigger slope feeding it means bigger channel. A useful rule: make it wider than feels necessary — real creeks are wide and shallow, and oversized channels forgive storms that undersized ones don't. Gentle curves look natural and slow the water; a dead-straight chute looks fake and erodes at the outlet.
Pile the excavated soil along the outer edges of the curves to form low banks — free berms that keep water in the channel and give you planting mounds.
Build it in layers
- Compact the dug channel and remove sharp roots and rocks.
- Line with non-woven landscape fabric, pinned every few feet. This is the one place fabric genuinely belongs in a xeriscape — it stops the water from pulling soil out from under your rock. (Everywhere else, we're not fans.)
- Set the big rocks first. Boulders and 6–12 inch stones go along the outside of curves (where water pushes hardest) and at the inlet and outlet. Bury each one a third deep so it looks placed by a flood, not a person.
- Fill with river cobble, 2–6 inch rounded stone, thickest in the channel bottom.
- Armor the inlet and outlet. These two spots take the most abuse. A splash pad of larger flat rock where the downspout enters, and a spread of cobble where water exits, prevent the classic failure: erosion at both ends of a beautiful middle.
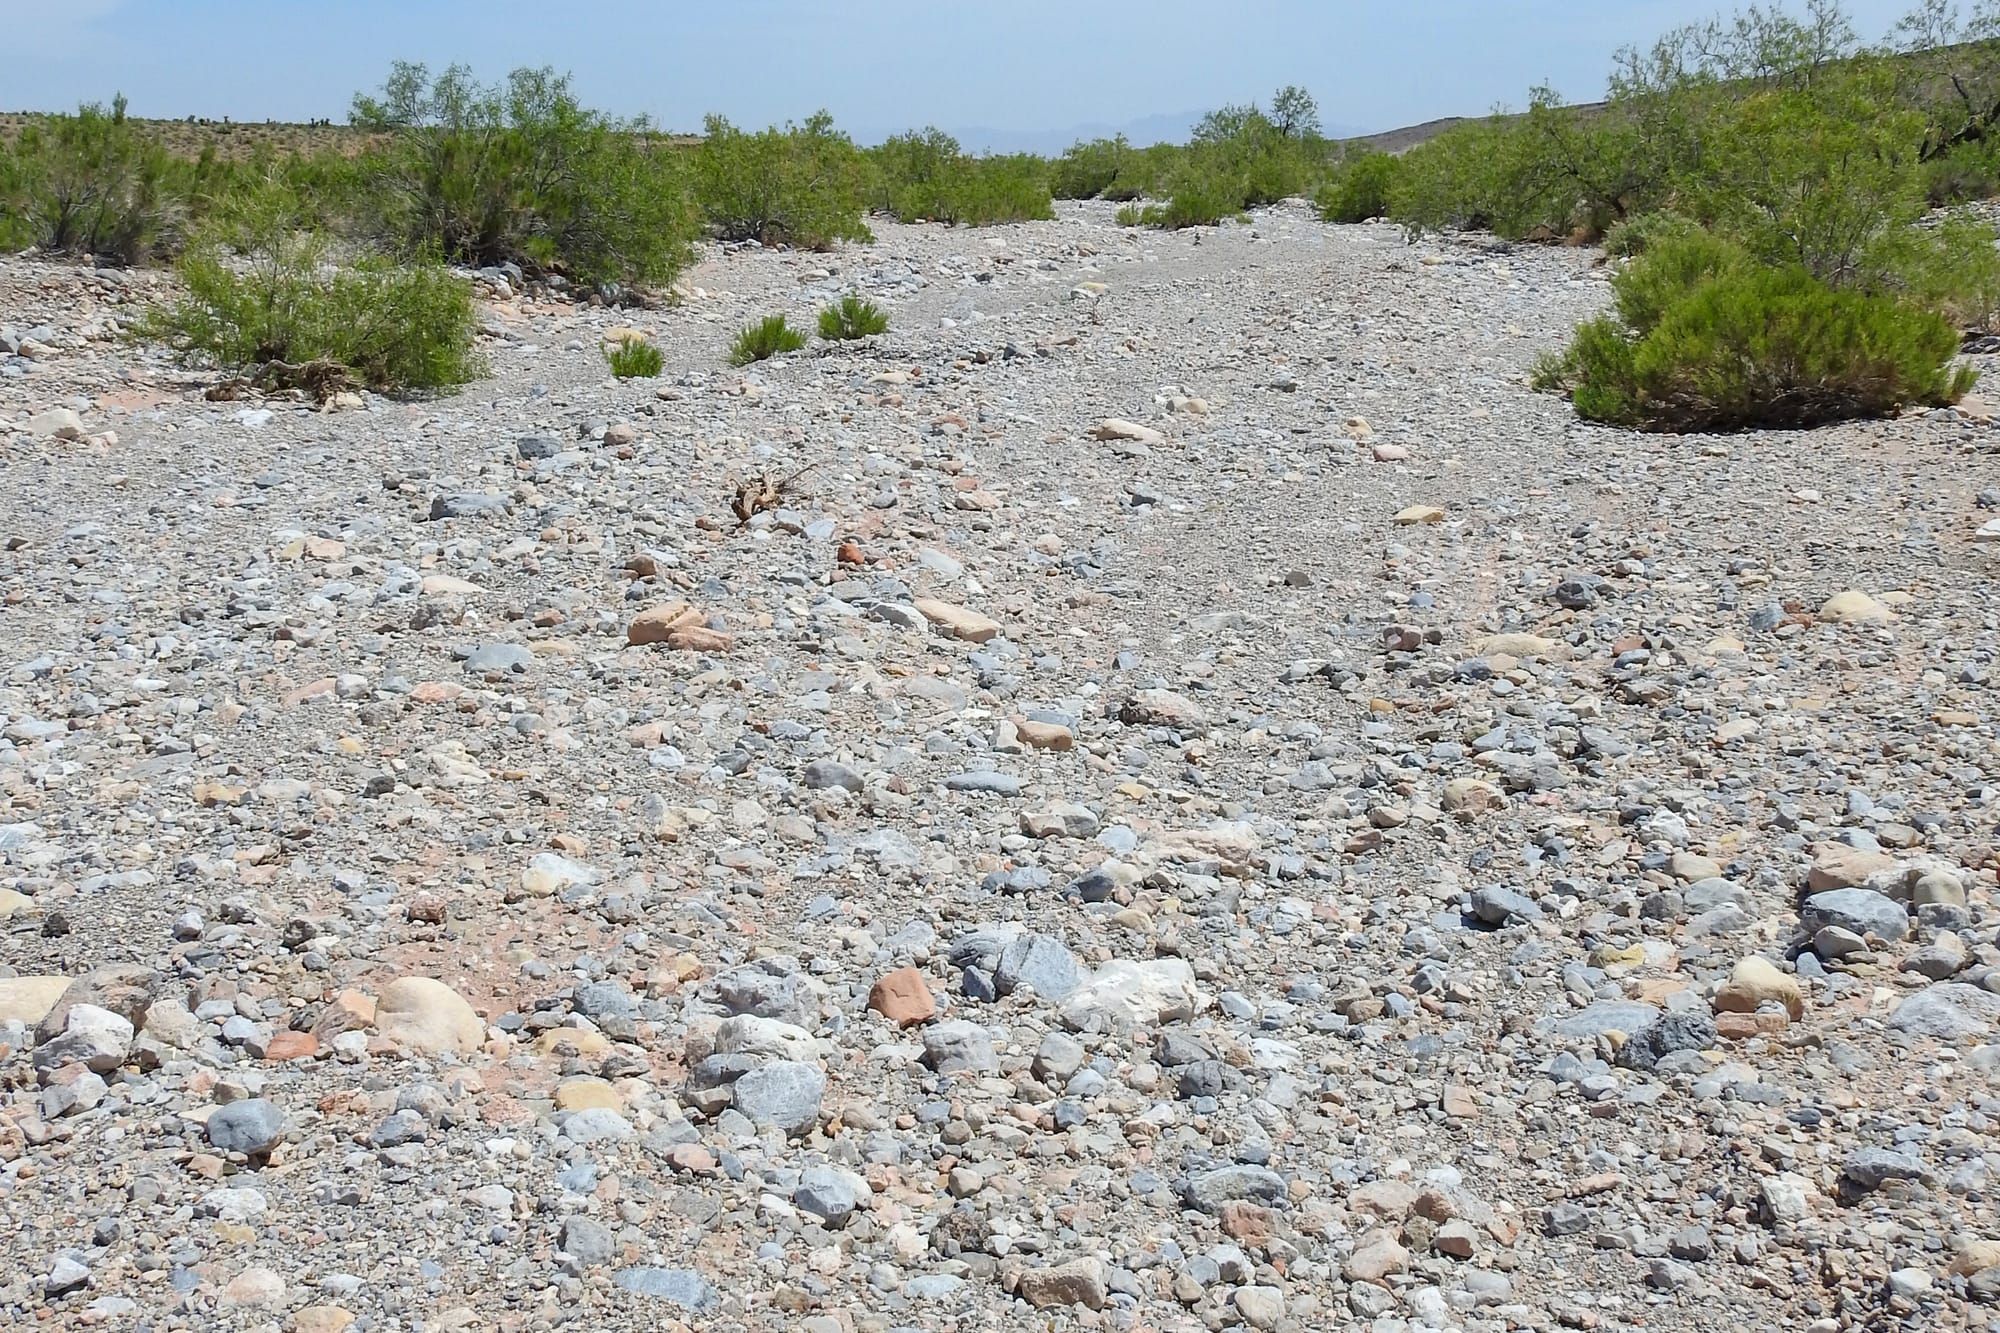
Look at a natural wash (like the one in the photo above): mixed rock sizes, wide and shallow, plants on the banks — not in the channel. Copy nature's homework.

Plant the banks, not the channel
Plants belong on the berms and edges where they'll catch overspray without blocking flow: ornamental grasses, rabbitbrush, sedums, creeping groundcovers spilling over the rocks. A creek bed edged with grasses that move in the wind sells the illusion completely — and doubles as a design spine for a front-yard xeriscape.

If your creek bed runs down a grade, it pairs naturally with terracing — see xeriscaping a slope.
What it costs
Rock is cheap; delivery is what you're paying for. A 20–30 foot creek bed typically lands in the several-hundred-dollar range DIY — fabric, a few boulders, a couple tons of cobble — versus a few thousand hired out. The digging is free if you count your weekend as free. (Boulder placement beyond what you can lift is the one part worth paying a pro for.)
The mistakes that cause washouts
- No fabric underneath — water tunnels under the rock and the channel collapses.
- Uniform rock size — reads as "gravel ditch," and small stone alone migrates downstream in heavy flow.
- Ignoring the outlet — water has to go somewhere. If it exits onto bare soil, you've just relocated your erosion problem.
- Too shallow and too narrow — the first overflow cuts a new channel beside your creek bed, which is exactly as annoying as it sounds.
- Plants in the flow line — they'll dam it with debris, then die.
A dry creek bed is honest landscaping: it does a real job 5 days a year and looks good the other 360. For more features in that spirit, browse xeriscape ideas and inspiration and rock garden design.