
How to Install Drip Irrigation: A Beginner's Guide
Learn how to install drip irrigation in an afternoon: the parts you actually need, how to lay out the lines, and the beginner mistakes (too many emitters, no pressure regulator) that kill most first systems.
If you can connect a garden hose, you can learn how to install drip irrigation. It's the least intimidating plumbing project in existence — no glue, no trenching, no pressurized pipe. You push fittings together by hand, and if you get something wrong, you cut the tubing and try again. Here's the whole process, minus the jargon.
Why drip at all
Sprinklers throw water into the air, where wind and evaporation take their cut, and wet the leaves of plants that would rather stay dry. Drip puts water directly on the root zone, slowly, where nearly all of it soaks in. That's why it's the default irrigation for xeriscapes: less water, fewer weeds (dry soil between plants grows nothing), and no fungal problems from wet foliage.
The parts list (there are only six)
Everything below is at any hardware store, usually in one aisle:
- Backflow preventer — screws onto the spigot; keeps irrigation water out of your house plumbing. Required by code almost everywhere, and cheap.
- Filter — a small screen that keeps grit from clogging emitters.
- Pressure regulator — drops household pressure (~50–60 PSI) to the ~25 PSI drip tubing wants. Skip this and your fittings will pop off all summer.
- ½-inch poly tubing — the mainline that runs through your beds.
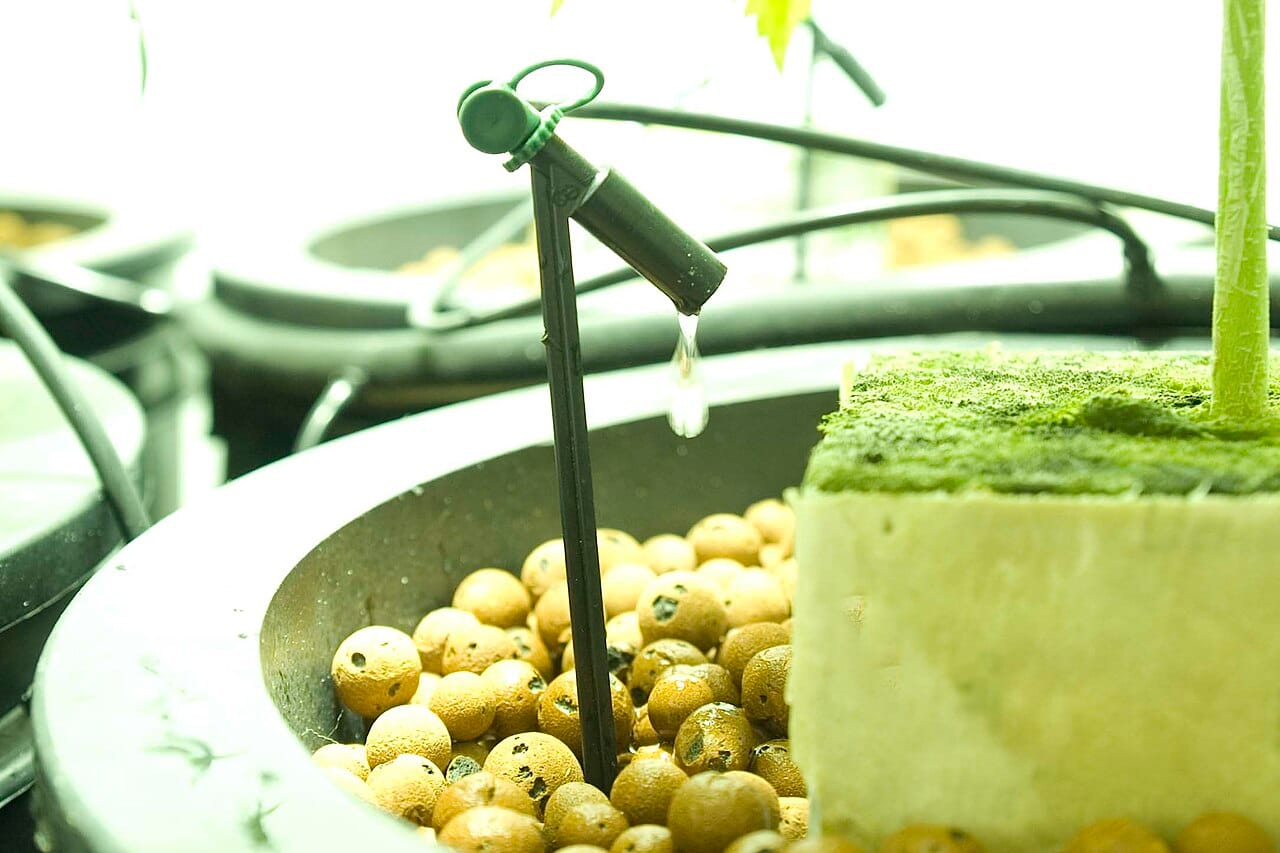
- ¼-inch tubing and emitters — the small lines that go from mainline to each plant. Emitters are rated in gallons per hour (GPH): 1 GPH is a fine default for perennials.
- End cap, stakes, and a hole punch — the boring but necessary bits.
A starter kit with all of this runs modest money — for a typical front-yard xeriscape, budget parts in the low hundreds. (That's the number behind the DIY irrigation line in our cost breakdown.)

Step-by-step installation
1. Sketch the layout. Draw your beds and mark every plant. Group by water needs — this is the whole point of hydrozoning. Thirstier plants get more or bigger emitters; established natives may need none at all.
2. Assemble the head. At the spigot (or valve), stack in order: backflow preventer → filter → pressure regulator → tubing adapter. Hand-tight is fine.
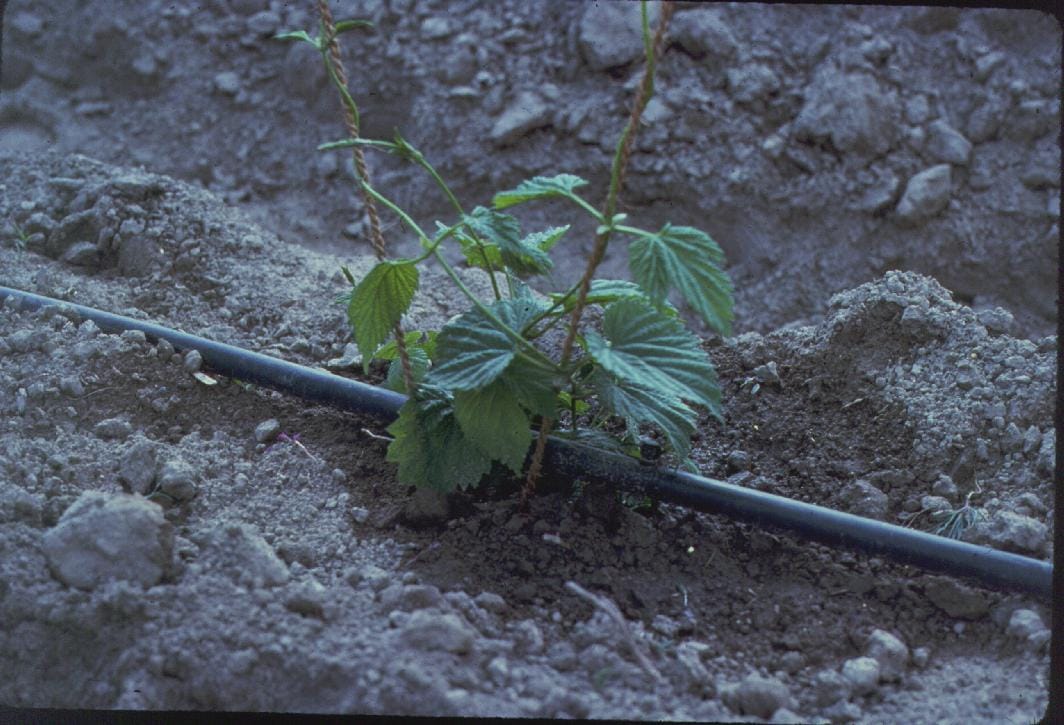
3. Run the ½-inch mainline. Snake it through the beds past every plant group. Let tubing sit in the sun for 20 minutes first — warm poly is dramatically easier to work with. Pin it down with stakes every few feet.
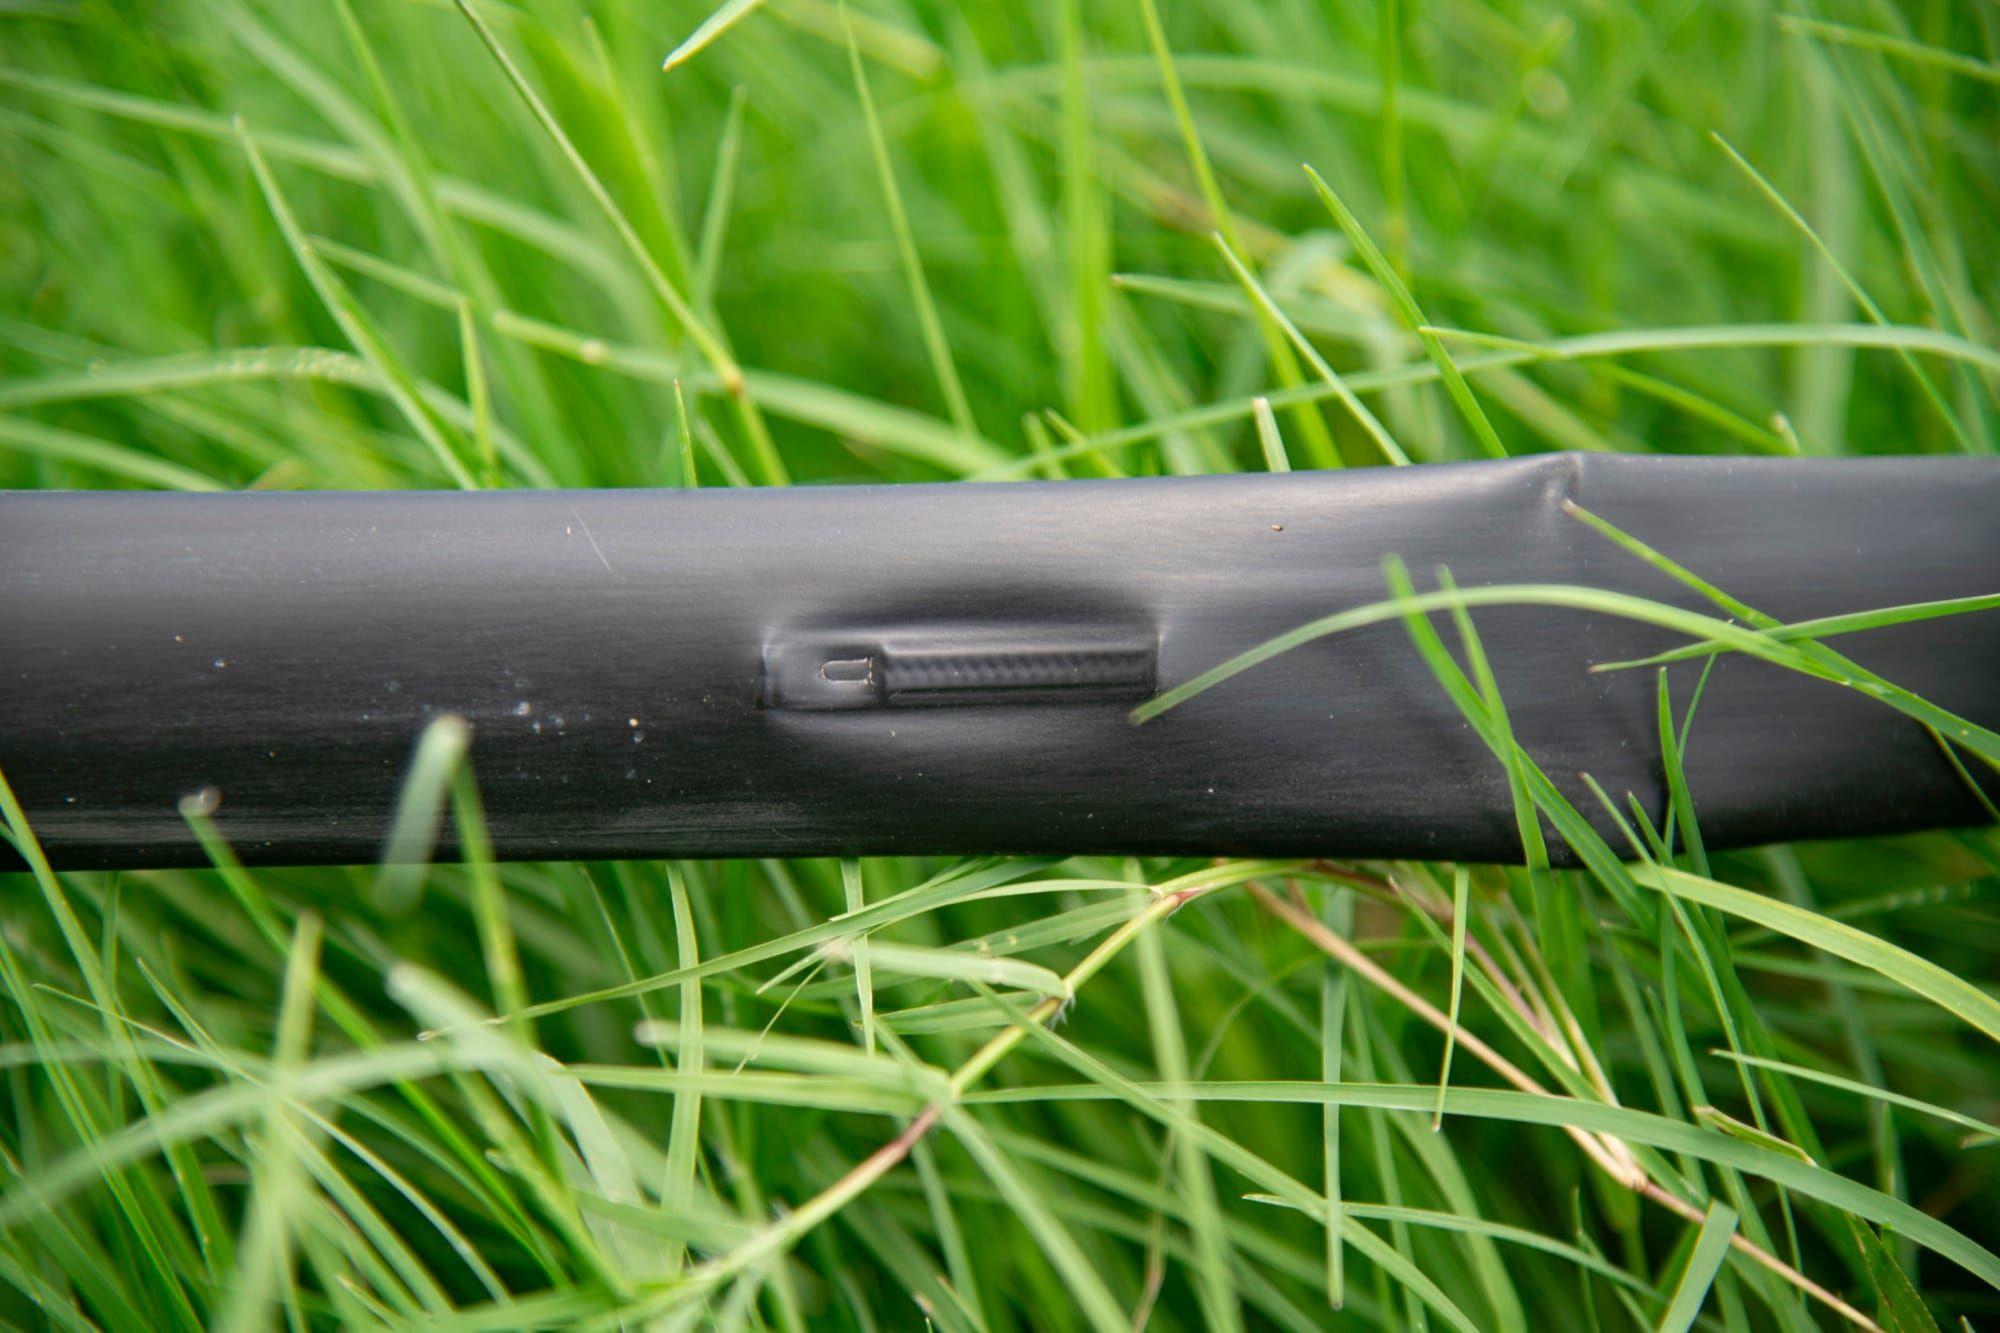
4. Punch and connect. At each plant, punch a hole in the mainline, push in a barbed connector, run ¼-inch tubing to the plant's root zone, and add an emitter. Place emitters at the edge of the root ball, not against the stem.
5. Flush, then cap. Run water through the open end of the mainline for a minute to clear debris, then install the end cap. Everyone skips this once. Once.
6. Test and tune. Turn it on and walk the line. Look for leaks, popped fittings, and plants you forgot. Fixes take seconds now and hours in July.
7. Bury it in mulch. Tubing under 2–3 inches of mulch lasts for many years; tubing baking in the sun gets brittle. Don't bury it in soil — you want to find it again.
Add a timer (seriously)
A battery hose-end timer costs little and is the difference between "irrigation system" and "hose you have to remember." For xeriscapes, set it to water deeply and infrequently — long cycles, days apart — then reduce further as plants establish. Details on that schedule are in first-year xeriscape care.
Beginner mistakes to skip
- No pressure regulator. The #1 cause of blown fittings.
- Emitters at the stem. Water the root zone's edge; wet crowns rot drought plants.
- One giant zone. A cactus and a new shrub shouldn't share a schedule.
- Overwatering. Drip is efficient, not idiot-proof — it's still the most common way people kill a xeriscape.
- Set-and-forget forever. Check emitters each spring; adjust as plants mature. Many xeriscape plants can be weaned almost entirely off irrigation by year three.
Already have sprinklers?
Don't rip them out — an existing sprinkler zone can be converted to drip using retrofit kits that screw onto a sprinkler head. That's its own project: how to convert sprinklers to drip.
Drip irrigation is step 8 in the full xeriscape build sequence — right after planting and right before mulch. Do it in that order and you'll never have to excavate your own landscape looking for a leak.