
10 Steps to Xeriscaping Your Yard
A practical, order-of-operations guide to designing and installing a low-water landscape — from your first sketch to the final layer of mulch.
Xeriscaping rests on seven classic principles, but doing it works best as a sequence. Here are ten practical steps, in order, to take a yard from thirsty to thriving.
Step 1 — Set your goals and budget
Decide what you want: lower water bills, less mowing, more color, pollinator habitat — or all of it. Set a rough budget and check whether your water utility offers a lawn-removal rebate (many Western utilities do). This shapes everything that follows.
Step 2 — Map your site
Walk the yard and note sun and shade through the day, slopes, where water pools or runs off, and how you actually use each area. Sketch it on paper or a photo. You're looking for microclimates — a hot south wall and a shady north corner want different plants.
Step 3 — Learn your hardiness zone
Before choosing a single plant, find your USDA Plant Hardiness Zone. It tells you what will survive your winters, which saves money and heartbreak at the nursery.
Step 4 — Design in hydrozones
Group plants by water need — this is the secret that makes efficient watering possible. Thirstier plants go together near the house or a downspout; the toughest go in the driest, farthest zones. Now a single irrigation zone won't drown one plant to keep another alive.
Step 5 — Rethink your turf
Keep lawn only where it earns its place — a play area, a pet run, a green foreground. Replace the rest. If you want a green groundplane with far less water, look at low-water turf alternatives like buffalograss or blue grama, or a groundcover.
Step 6 — Improve the soil
Great xeriscapes start underground. Work 2–3 inches of compost into beds to boost the soil's ability to hold water and feed roots. (Exception: many true natives prefer lean, unamended soil — match the amendment to the plants.)
Step 7 — Choose the right plants
Now the fun part. Pick native and climate-adapted species suited to your zone and each hydrozone. Aim for a mix of heights, textures, and bloom times so there's interest across the seasons, plus evergreen structure for winter. Favor plants that support pollinators.
Step 8 — Install efficient irrigation
Put in drip or soaker lines that deliver water straight to the roots — almost nothing lost to evaporation or runoff. Add a smart controller or at least a rain sensor so the system skips watering when nature already handled it.
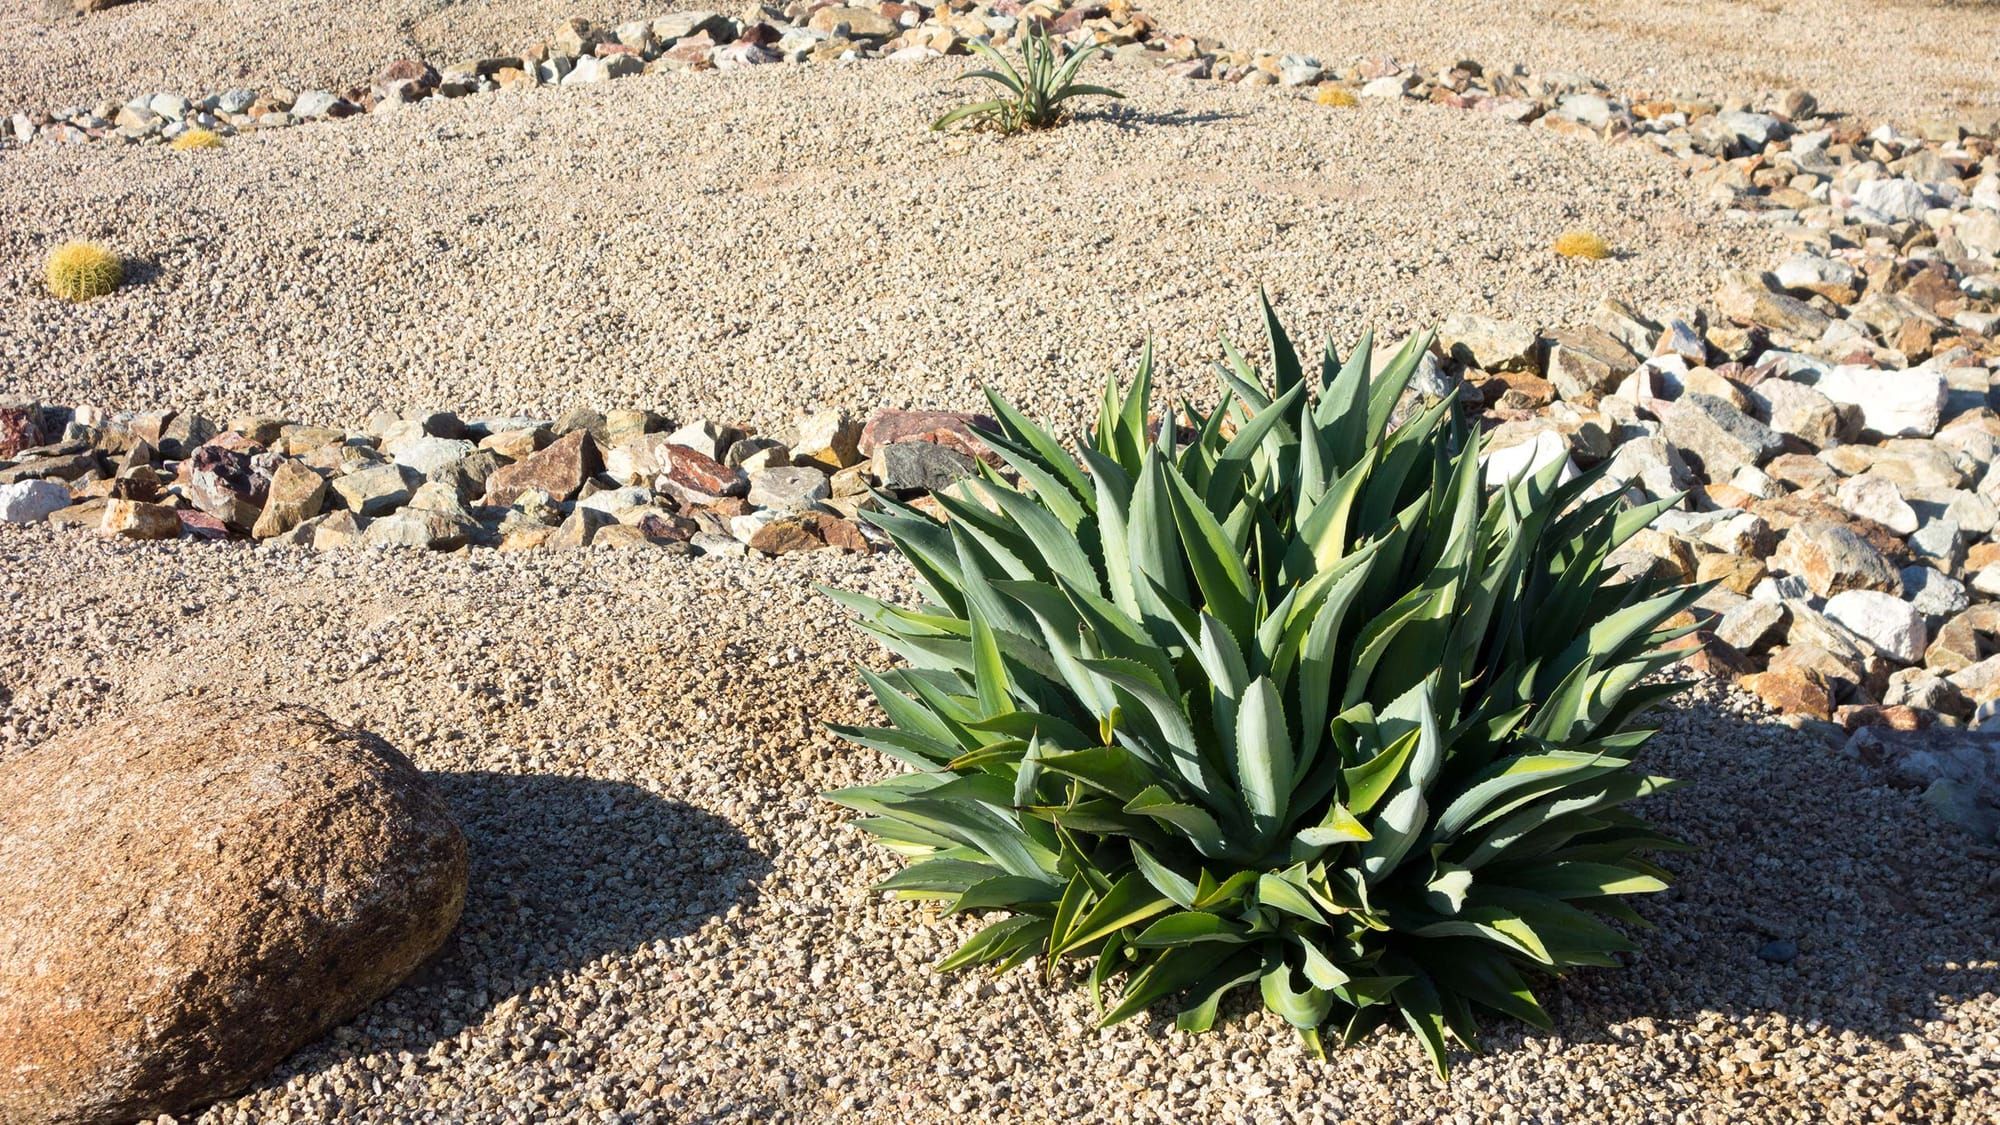
Step 9 — Mulch everything
Spread 2–3 inches of mulch over exposed soil — organic (bark, wood chips) in planted beds, or gravel/rock in the driest accent areas. Mulch locks in moisture, blocks weeds, and moderates soil temperature. Keep it a couple inches off plant stems.
Step 10 — Water to establish, then wean
New plantings need regular deep watering through the first season while roots dive deep. After that, taper off steadily. Deep, infrequent watering trains roots down and builds the drought toughness that makes a xeriscape self-sufficient. Then maintain lightly — seasonal pruning, weeding, and a mulch top-up each year.
That's the whole arc: plan, prep, plant, deliver water smartly, and protect it with mulch. Follow it in order and you'll avoid the expensive mistakes most first-timers make.
Keep reading: Why Xeriscaping? · Beginner's Guide · Ideas & Inspiration
Subscribe below and we'll send the next guide straight to your inbox.